
The journey of a tie
I’m sure many of you know that every Olivia J Holland tie is made by hand from start to finish. However, do you know the many different processes that go into the creation of just one tie?
I thought I would document a step by step explanation of each stage in the journey of a tie, from knitted construction to labelling and finishing.
Stage 1: Knitting.
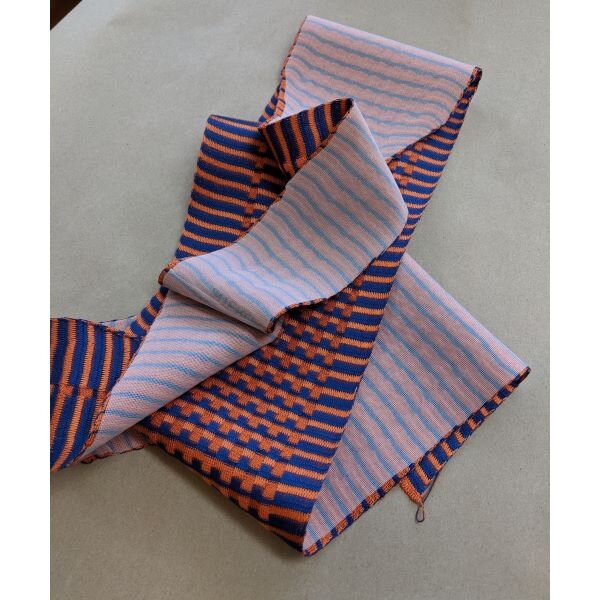
The initial stage is the construction of the tie on my 12 gauge Santagostino industrial knitting machine. The tie is knitted from the blade end to the tail end, with slight shaping about one third of the way down, to ensure that the tail of the tie is narrower than the blade (and fits under a shirt collar!).


Stage 2: Washing
Once the tie fabric has been cast off of the machine, it needs to be washed. This is to get off any coating from the yarn and any oils that the piece has got on it from the knitting process, as my old industrial machine has to be kept well oiled in order to work smoothly. I wash the tie fabric very gently in warm water with a special silk detergent and then hang up to dry.


Stage 3: Steaming & lining
Once dry, I gently steam the washed tie fabric so that it lays flat and sets the structure of the knit. Next, I line the tie using a knitted bondable facing. This adds a bit of strength to the fabric to stop it from stretching over time as it is tied around the neck. I cut the facing to the shape of the tie, leaving a small border and then using the steam iron, I apply the facing to the reverse side of the fabric.


Stage 4: Sewing
Next, the flat piece of knitting has to be sewn into the tie shape. I fold the lined piece of fabric in half and stitch by hand along one side of it, making sure that the pattern is keeping in line for the entire way up the tie. This is the most time consuming stage of the process. After this I use my fingers to turn the tie the correct way around so the lining is on the inside, this is very fiddly!


Stage 5: Steaming and hand finishing ends
I then steam the tie again to set it flat into it’s final shape. I make sure that the seam goes down the centre back of the tie. I also neatly tuck in both ends of the tie and steam them down. Once the ends are steamed, I hand sew them in using a special invisible stitch. This creates a lovely neat edge at both ends of the tie.


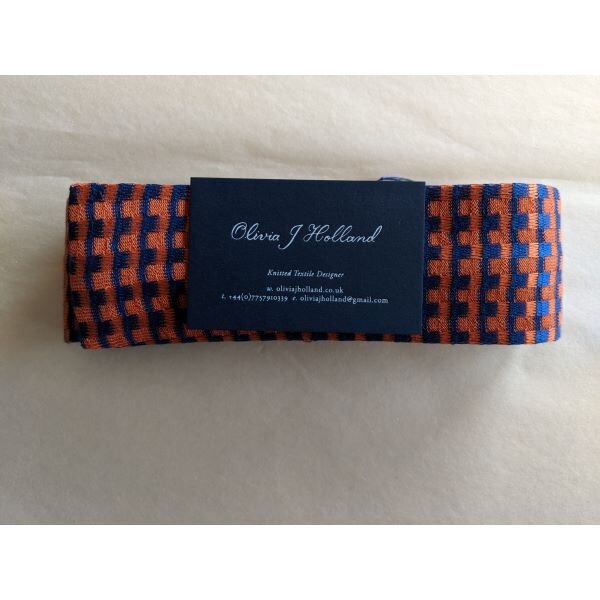
Stage 6: Labelling and wrapping
Lastly, I add my brand label to the back of the tie blade to act as a tie loop for the tail to be tucked into when wearing the tie. I then fold the tie carefully and wrap it in sustainable packaging before sending off to it’s new owner!


If you would like to see some making video clips of me in action on the machine, click here.
Click here to shop the ties in my current collection.
I also offer a bespoke design service which is particularly popular with ties for weddings. Click here to read about the service or send me an email here to enquire about further details.